September 7, 2018
PetSafe® Expert
Justin Young
How Do You Install an In-Ground Fence?
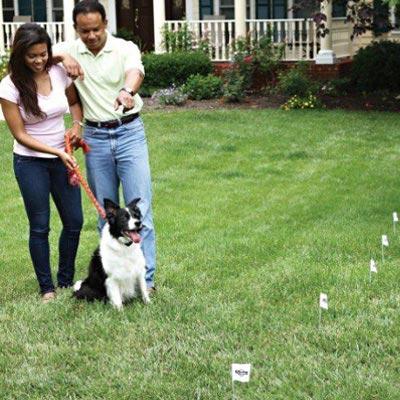
Have you been thinking about installing an In-Ground Fence™ system at your home? Wondering what the steps are and how difficult it would be to install? Follow these 4 easy steps to make installing your new fence a breeze.
1. Plan Your Layout.

In-ground fences are the most customizable containment option to keep your pet in your yard. Give pets free reign of the yard or only let them play in part of your yard. You can even create additional boundaries for your pet such as gardens, pools and even around your driveway. Don’t worry, even though there are boundaries, all the wires are underground.
2. Install the Transmitter & Wire.

Your pet’s boundaries will be set by burying the wires in your yard. Radio signals will be sent from the transmitter to the red receiver collar, included with your system. With some basic handiwork knowledge, you can set up your In-Ground Fence™ system in as little as 2 days, making installation a great weekend project. Watch how easy it is to bury wires in your yard. Renting a trencher is a big help!
3. Set Up the Collar.

Fit the collar on your pet and find the right correction level. If you have multiple pets, simply purchase additional receiver collars. However, be sure to check for compatibility when purchasing additional collars. Your pet will learn to listen for a warning tone that reminds him of the boundaries.
4. Train Your Pet.

Teach your pet to respect the new yard boundaries in only 2 weeks. Boundary training can be a fun bonding experience for you and your pet. Most pets will learn to stay within the boundaries with a few short training sessions every day for a few weeks.
Get Email Updates
Subscribe to the latest news, promotions, & more from PetSafe® brand.
Sign up today for the latest news, promotions, and more from PetSafe® brand.


